
A ring main unit single line diagram is the drawing that shows how the ways of a ring main unit are connected together — the ring incoming way, the ring outgoing way, the transformer tee-off and any spare way — with the switching device, the earthing point and the instrument transformers of each way drawn on one set of lines. A ring main unit itself is a compact metal-enclosed switchgear assembly installed at the point where a ring feeder meets a distribution transformer. The diagram states electrical connections; it is not a picture of the equipment.
That distinction is the whole point of the document. Utility engineers, specifiers and EPC contractors receive a ring main unit single line diagram at the start of a procurement, and what they must do with it is practical: read the switching arrangement, check that earthing provisions and metering points sit where the specification expects them, and approve a drawing a supplier will build from. This article stays on that task — the symbols, the conventions, the reading order, and the questions the drawing answers and leaves out.
If you are still deciding which switching arrangement, insulation medium or degree of extensibility your project needs, that is a different question, and ring main unit types and configurations answers it. Come back here once a drawing is on the table.
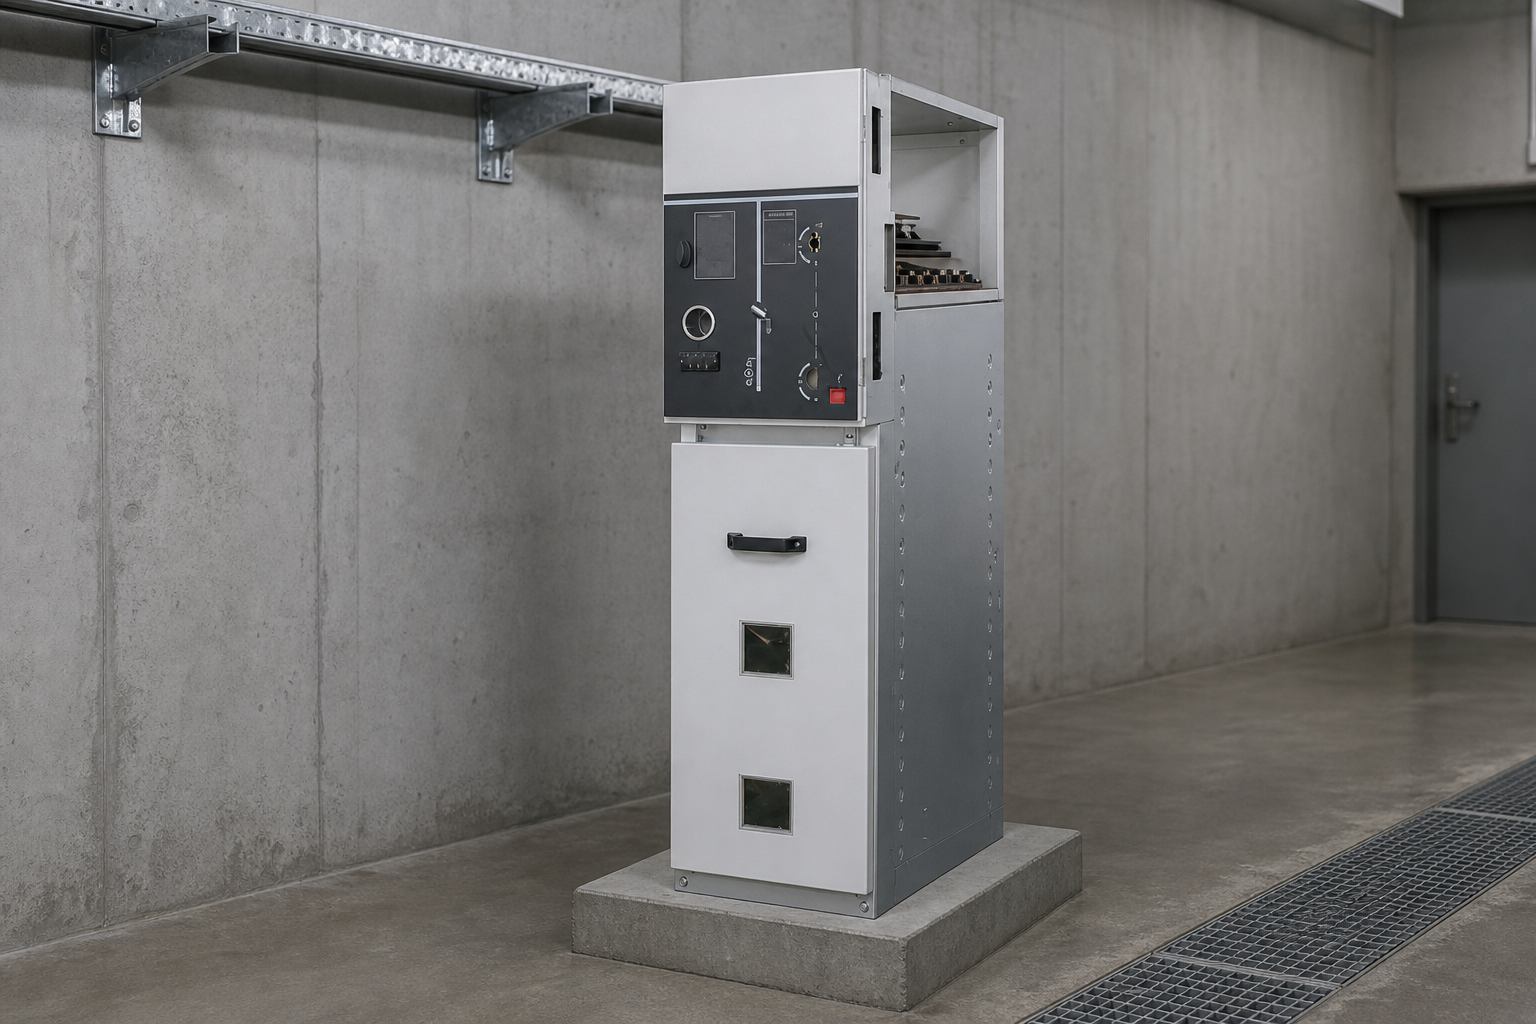
What Does a Ring Main Unit Single Line Diagram Deliberately Omit?
A ring main unit single line diagram reduces a three-phase circuit to one line, on the understanding that the other phases behave the same way. That line carries the switching devices and their positions, the earthing connections and the instrument transformer points, plus the notes and legend that make sense of the symbols. Knowing what the drawing is not responsible for prevents most of the arguments that follow a submission.
The omissions are deliberate rather than accidental:
- Physical geometry. Compartment layout, busbar arrangement, cable box design and operating interfaces belong on the general arrangement drawing.
- Ratings and their values. The drawing shows that a current transformer exists and which circuit it serves; ratio, burden and accuracy class belong in the schedule.
- Control and protection wiring. Trip circuits, auxiliary contacts, indication and remote signalling appear on schematic and wiring diagrams.
- Interlock detail. The drawing can state that an interlock exists and what it must prevent, but the linkage itself is a construction matter.
- Materials and finishes. Materials, surface treatment and ingress protection are specification clauses, not drawing content.
Read the drawing as the electrical skeleton of the assembly. Issued with the schedule, the general arrangement and the wiring diagrams, it describes the unit; issued alone, it invites questions.
| Drawn on the single line diagram | Carried by the schedule or the general arrangement | |
|---|---|---|
| Circuit continuity | The route from each cable termination through its device to the busbar, and onwards to the next way | Nothing — continuity is the drawing's core job |
| Switching and interrupting devices | Device type by symbol and position, with the operating state shown by the symbol's form | The rating values the device must meet, and the evidence offered for them |
| Earthing positions | The earthing switch as a distinct symbol associated with a specific circuit | Earthing circuit construction and the classification claimed for the device |
| Instrument transformers | The presence and location of each current or voltage transformer, and the circuit it serves | Ratio, burden, accuracy class and the metering or protection duty |
| Interlocking | A note or an annotation stating what is interlocked with what | The mechanical design that delivers it |
| Physical construction | Nothing | Dimensions, compartment arrangement, materials, finishes and installation data |
How Do the Ring Ways and the Transformer Tee-Off Appear?
The ring ways are the reason the unit exists. On the ring main unit single line diagram they usually appear as two ways of one assembly linked by a single busbar: one way owns the cable arriving from the previous substation, the other owns the cable leaving for the next one. The ring itself is completed by the neighbouring units, which is the most common misreading of the diagram — nothing inside the enclosure closes the ring.
The transformer tee-off is drawn as a branch from the same busbar, with its own switching device and its own protection. Because it is a branch rather than a through-connection, its protection can operate without breaking the ring, which is why the tee-off is drawn separately from the ring ways. Depending on the transformer it serves, a fuse, a switch-fuse combination or a circuit breaker may appear in the branch. If you are checking a branch device on its own, the load-break switch guide covers how switching duty differs from interrupting duty.
A spare way is drawn as a complete way with no outgoing cable: the device is shown, the cable compartment is marked as reserved, and the way is labelled spare or future. On an extensible assembly it marks where a future tee-off or sectionalising point will connect. Do not assume a spare way is equipped or cabled — check the schedule.
The most reliable reading order for a ring main unit single line diagram is always the same, from the inside out:
- Find the busbar. Everything else hangs off it. Identify where it starts and ends, and whether it is drawn as one continuous line or as sections.
- Count the ways connected to it. Each way has one device between the busbar and the outside world.
- Follow each way outwards to its cable termination or transformer symbol, noting which is incoming, which is outgoing and which is the tee-off.
- Check the earthing switches way by way, confirming that every circuit that can be isolated also has a means of earthing on the correct side of the isolating device.
- Then read the instrument transformer symbols, the legend and the notes. The notes carry the interlocking statement, and they change how the geometry should be interpreted.
Why Is the Earthing Switch Drawn Separately from the Disconnector?
The two devices sit in the same circuit and often share one operating mechanism, yet they are drawn as separate symbols, and that convention is worth defending. A disconnector isolates a circuit by opening a gap that satisfies the isolating function. An earthing switch does the opposite: it connects a circuit to earth so that work can proceed on a cable or transformer that has already been isolated. They perform different functions, they are classified against different requirements, and one symbol hides both facts.
In practice the earthing switch appears as a contact connecting the circuit on one side of the isolating device to the earth conductor, drawn on the same vertical line so its relationship to the isolation point is unambiguous. Many drawings show the earthing contact in its closed position with an explanatory note, or list the operating positions as separate contact drawings. The side matters: an earthing switch on the busbar side of the isolating device protects the busbar, one on the cable side earths the cable, and a drawing that leaves the side ambiguous is asking for a construction question later.
There is a standards reason for keeping the symbols apart as well: disconnectors and earthing switches are covered by their own part of the IEC 62271 family, which classifies earthing switches by their short-circuit making capability.
This is also where a reviewer catches a real design problem early. If a circuit can be isolated from every source but no earthing position is shown on the working side, no documentation makes the arrangement safe to maintain. Flag it on the drawing, not at commissioning. The parallel logic for the isolating device itself is set out in the isolating switch guide.
How Is Interlocking Implied on a Single Line Diagram?
A ring main unit single line diagram cannot show a mechanical lock, so interlocking appears in one of a few ways: a dashed line joining the devices concerned, a note in the margin stating the required sequence, an annotation beside a symbol, or an entry in the legend. All of these are conventions rather than standardised symbols, so the notes and the legend are not optional reading — on most drawings they carry more than the geometry does.
What the diagram usually implies, and what a reviewer confirms from the notes, is the classic sequence: that the earthing switch can close only once the isolating device is open, that the isolating device cannot close while the earthing switch is closed, and that access to a cable compartment is prevented while the circuit is live. Where a keyed scheme is used, the drawing may show a key symbol and refer to an interlocking schedule instead.
The ability of an interlocking device to withstand a defined mechanical endurance is a testable requirement, not a drawing preference, and the IEC 62271 series states it explicitly for the devices themselves. Treat an interlock note as a promise of function that the supplier must back with hardware.
Where Do the Metering and Instrument Transformer Points Sit?
Instrument transformers appear on a ring main unit single line diagram as symbols attached to the circuit they measure, and their position is the message. A current transformer drawn in the transformer tee-off measures the current the distribution transformer actually draws, which is what billing and transformer protection need. One drawn on a ring way measures feeder current, a network duty rather than a customer duty. A voltage transformer is usually drawn on the busbar or the tee-off, depending on what the signal serves.
Read the symbols as duty markers rather than a bill of materials. A drawing may show one current transformer symbol where the supply will include several cores, one for metering and one for protection, and a voltage transformer symbol without showing its windings. Those details sit in the schedule. What the drawing must get right is location, because location determines what an instrument may legitimately be used for.
Metering equipment itself — the metering unit, the test terminal block and the sealing arrangement — often sits outside the single line diagram, on separate metering drawings, even though it is the reason the instrument transformers exist. Where a project needs that part of the picture, choosing a current transformer ratio covers how the measuring duty drives the cores the schedule specifies.
Nahu Group manufactures medium-voltage distribution equipment, including instrument transformers, load-break switches, earthing switches and ring main units, so its engineers read drawings of this kind alongside the schedules that accompany them.
How Is a Busbar Section or a Sectionalising Point Drawn?
On a ring main unit single line diagram a busbar section appears as a break in the busbar line with a device across it. The device — a bus-section switch, a bus coupler or a link — is drawn on the busbar rather than on a way, which tells you it connects two parts of the assembly to each other rather than the assembly to the network.
The reason this matters is that a busbar section changes where ring continuity runs. With the sectionalising point open, the ring ways on either side are no longer connected inside that enclosure, and the network behaves differently from what the drawing appears to show at first glance.
Two conventions are worth watching. Some drawings show a sectionalising point with a dashed continuation to indicate a future section; others show an isolated section in a note. Neither is wrong, but both mean the same thing to a reviewer: ask which sections are supplied equipped and which are provisioned. On extensible assemblies the same question applies to every spare way, and the answer usually moves scope and cost more than any other line on the drawing.
The Ways at a Glance: What Each One Looks Like
The table below summarises the reading pattern for the elements that appear on a ring main unit single line diagram. It describes the convention, not a particular arrangement: the symbols on your project's drawing are defined by its own legend.
| How it appears | What to check when reading | |
|---|---|---|
| Ring incoming way | A line from a cable termination, through a switching device, into the busbar | Which device is drawn, and whether the cable side has an earthing position |
| Ring outgoing way | The mirror image of the incoming way, at the other end of the busbar | That both ring ways are shown as separate ways, not as one through-connection |
| Transformer tee-off | A branch off the busbar with its own device and a transformer symbol at the end | What protection guards the branch, and where the current transformers sit relative to it |
| Spare way | A complete way with the device drawn but no outgoing cable | Whether the way is equipped or provisioned, and whether it is labelled spare or future |
| Bus-section or sectionalising point | A device drawn on the busbar itself, with the busbar shown as two sections | Which sections are supplied, and how ring continuity changes when the device is open |
A Pre-Submission Checklist Before You Send the Diagram to a Supplier
Most drawing queries are avoidable. Run through the list below before a ring main unit single line diagram leaves your desk; a supplier can only work with what the transmittal contains.
- Title block complete. Project, drawing title, drawing number, revision, date, and the people who checked and approved it.
- Every way labelled. Incoming, outgoing, tee-off and spare should be identifiable on the drawing itself.
- Switching devices unambiguous. Each way should show whether its device interrupts load, interrupts fault current or isolates only.
- Earthing provisions shown and sided. Every circuit that can be isolated should show where earth is applied and on which side of the isolating point.
- Instrument transformer points located. Show where each core sits, leave ratio and class to the schedule, and confirm both documents agree.
- Interlock statement present. State the required sequence in a note, and say whether key interlocks are involved.
- Legend on the drawing. Every symbol used should be defined on the sheet or in a referenced legend; do not rely on a house symbol being recognised.
- Spare and future ways marked. Say whether the way is equipped now, provisioned for later, or an optional addition to the scope.
- Busbar sections defined. If the busbar is drawn in sections, state how many are supplied and whether the sectionalising device is included.
- Sending context stated. Cite the standards the assembly is to be designed to, the installation type and the destination market.
- Revision history matched. The revision on the sheet, in the transmittal note and in the file name should be the same string.
- Companion documents listed. Name the companion documents you are sending, and the ones you are not.
A ring main unit single line diagram that survives this list tells the supplier what to build, what to quote, and where the boundaries of the enquiry lie. Nahu Group builds ring main units and their switching and instrument-transformer components for medium-voltage networks, and it quotes from the drawing and the schedule together.
Frequently Asked Questions About the Ring Main Unit Single Line Diagram
What is a ring main unit single line diagram?
It is a schematic drawing that shows, on one set of lines, how the ways of a ring main unit are connected: the ring incoming way, the ring outgoing way, the transformer tee-off and any spare way, together with the switching devices, earthing positions and instrument transformer points that serve each way. It describes electrical connections, not the physical layout of the equipment.
How do I read a ring main unit single line diagram step by step?
A ring main unit single line diagram is read from the busbar outwards, because every other element connects to it. Count the ways connected to it, then follow each way outwards to its cable termination or transformer, noting which way is incoming, which is outgoing and which is the tee-off. Check the earthing provisions way by way, then finish with the instrument transformer symbols, the legend and the notes; the notes usually carry the interlocking statement.
What is normally left off a single line diagram?
Physical geometry, dimensions, materials and compartment layout; the rating values behind each device; control, protection and signalling wiring; and the mechanical detail of the interlocks. Those belong on the general arrangement drawing, the technical schedule and the wiring diagrams, while the single line diagram carries the electrical connections and the conventions that interpret them.
Why are the disconnector and the earthing switch drawn as separate symbols?
Because they do opposite jobs. A disconnector isolates a circuit by opening a gap; an earthing switch connects a circuit to earth so that work can proceed safely. They are classified against different requirements, and a drawing has to show which side of the isolating point the earth is applied to, so merging them would remove information reviewers need.
How can I tell which interlocks are fitted if the drawing does not show them?
You cannot read interlocking from the symbol geometry alone. Look for the interlocking note, a dashed line joining the devices concerned, an annotation beside a symbol, or an entry in the legend. Where a keyed scheme is used, the drawing will normally refer to a separate interlocking schedule instead of describing the sequence on the sheet.
Where should current transformers and voltage transformers appear?
A current transformer is drawn in the circuit it measures, so a tee-off current transformer measures the transformer's own current while a ring way current transformer measures feeder current. A voltage transformer is normally drawn on the busbar or on the tee-off, depending on whether the voltage signal serves the whole assembly or one transformer. Ratios and classes belong in the schedule, not on the drawing.
How is a spare way shown on the diagram?
As a complete way with its device drawn but no outgoing cable, usually labelled spare or future, with the cable compartment indicated as reserved. It marks where a future tee-off or sectionalising point will connect, and it does not by itself mean that the way is equipped or cabled. Confirm the scope in the schedule before you quote or order.
What should I check before sending the diagram to a supplier?
Check that the title block, way labels, switching devices, earthing provisions, instrument transformer locations, interlock notes, legend, spare way marking and busbar sectioning are all present; state the standards, installation type and destination market; and make sure the revision on the sheet, in the transmittal and in the file name match.
Sources and Further Reading
- IEC 62271-200 — AC metal-enclosed switchgear and controlgear for medium-voltage assemblies, indoor and outdoor; defines the assembly and covers the earthing circuit, the loss-of-service-continuity categories and internal arc testing.
- IEC 62271-102 — alternating current disconnectors and earthing switches; adds withstand requirements and a test subclause for mechanical interlocking devices, and classifies earthing switches by short-circuit making capability.
- IEC 62271-1 — common specifications for alternating current switchgear and controlgear, for indoor and outdoor installation, and the default reference unless a more specific part applies.
- IEC 61869-1 — general requirements for instrument transformers, the framework the part-specific documents build on.
- IEC 61869-2 — additional requirements for current transformers used with measuring instruments and protective devices — the duty the current transformer symbols imply.
Read as a whole, a ring main unit single line diagram answers four questions: what is connected to the busbar, how each circuit can be switched, how each circuit can be earthed, and what is measured and where. Everything else is answered by the companion documents that travel with it.
For medium-voltage distribution equipment — ring main units, load-break and earthing switches, isolating switches, current transformers and voltage transformers — Nahu Group works from the drawing and the schedule a project issues.
Published September 24, 2026 · Nahu Group (NAHU Electric Technology)